Where/When the External Divided Sleeves can be Used?
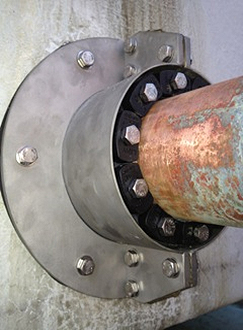
The External Divided Sleeve is mostly used in situations where it isn’t possible to fit a Link-Seal assembly securely, for example:
- When a pipe is not centered in a hole;
- When the hole is out of round;
- When the annular space is too small or too large for a Link-Seal assembly to fit;
- When an existing penetration is leaking such as concrete & pipe or cast-in conduits, etc.
- When an in-situ pipe requires a fire rating and/or cannot be removed and requires a 100% hydrostatic seal.

The most effective way to seal the between the External Steel Sleeve and the pipe is to use the Link-Seals.
The type of Link-Seals will be determined depending on the liquid or type of application, nl.
- Model-S316 (EPDM) Link-Seals for sealing against non aggressive chemicals (water, gas and other inorganic liquids)
- Model-O (Nitrille Rubber) Link-Seals to seal against Hydrocarbons and aggressive chemicals
- Model-T Link-Seal (silicone rubber) when a fire rating is required (2 hrs (AS 1530.4 and AS 4072.1) fire rating (click here for certificate).


How to Install the External Divided Sleeves?
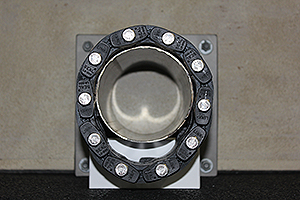
Step 1: Assemble both sections of the split sleeve around the pipe.
Step 2: Assemble by placing nuts & bolts through pressure plates and tighten just enough to keep assembly in place – Do not remove backing/protection paper attached to sealant & pressure plates at this stage.
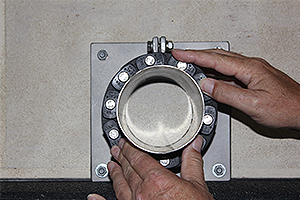
Step 3: Put External Divided Sleeve in place against wall – centered to pipe (to help center the pipe you can install the Link-Seals).
Step 4: Mark the holes to be drilled.
Step 5: Remove External Divided Sleeve and Link-Seals if used – drill holes to fix dyna bolts.
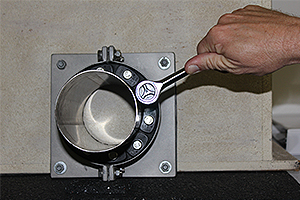
Step 6: Remove backing paper from sealant, assemble both sections around pipe, insert nuts & bolts through pressure plates and tighten.
Step 7: Place rubber gasket between wall & back plate – fasten dyna bolts to permanently attached External Divided Sleeve to wall.
Step 8: Assemble Link-Seals to permanently seal the annular space.