

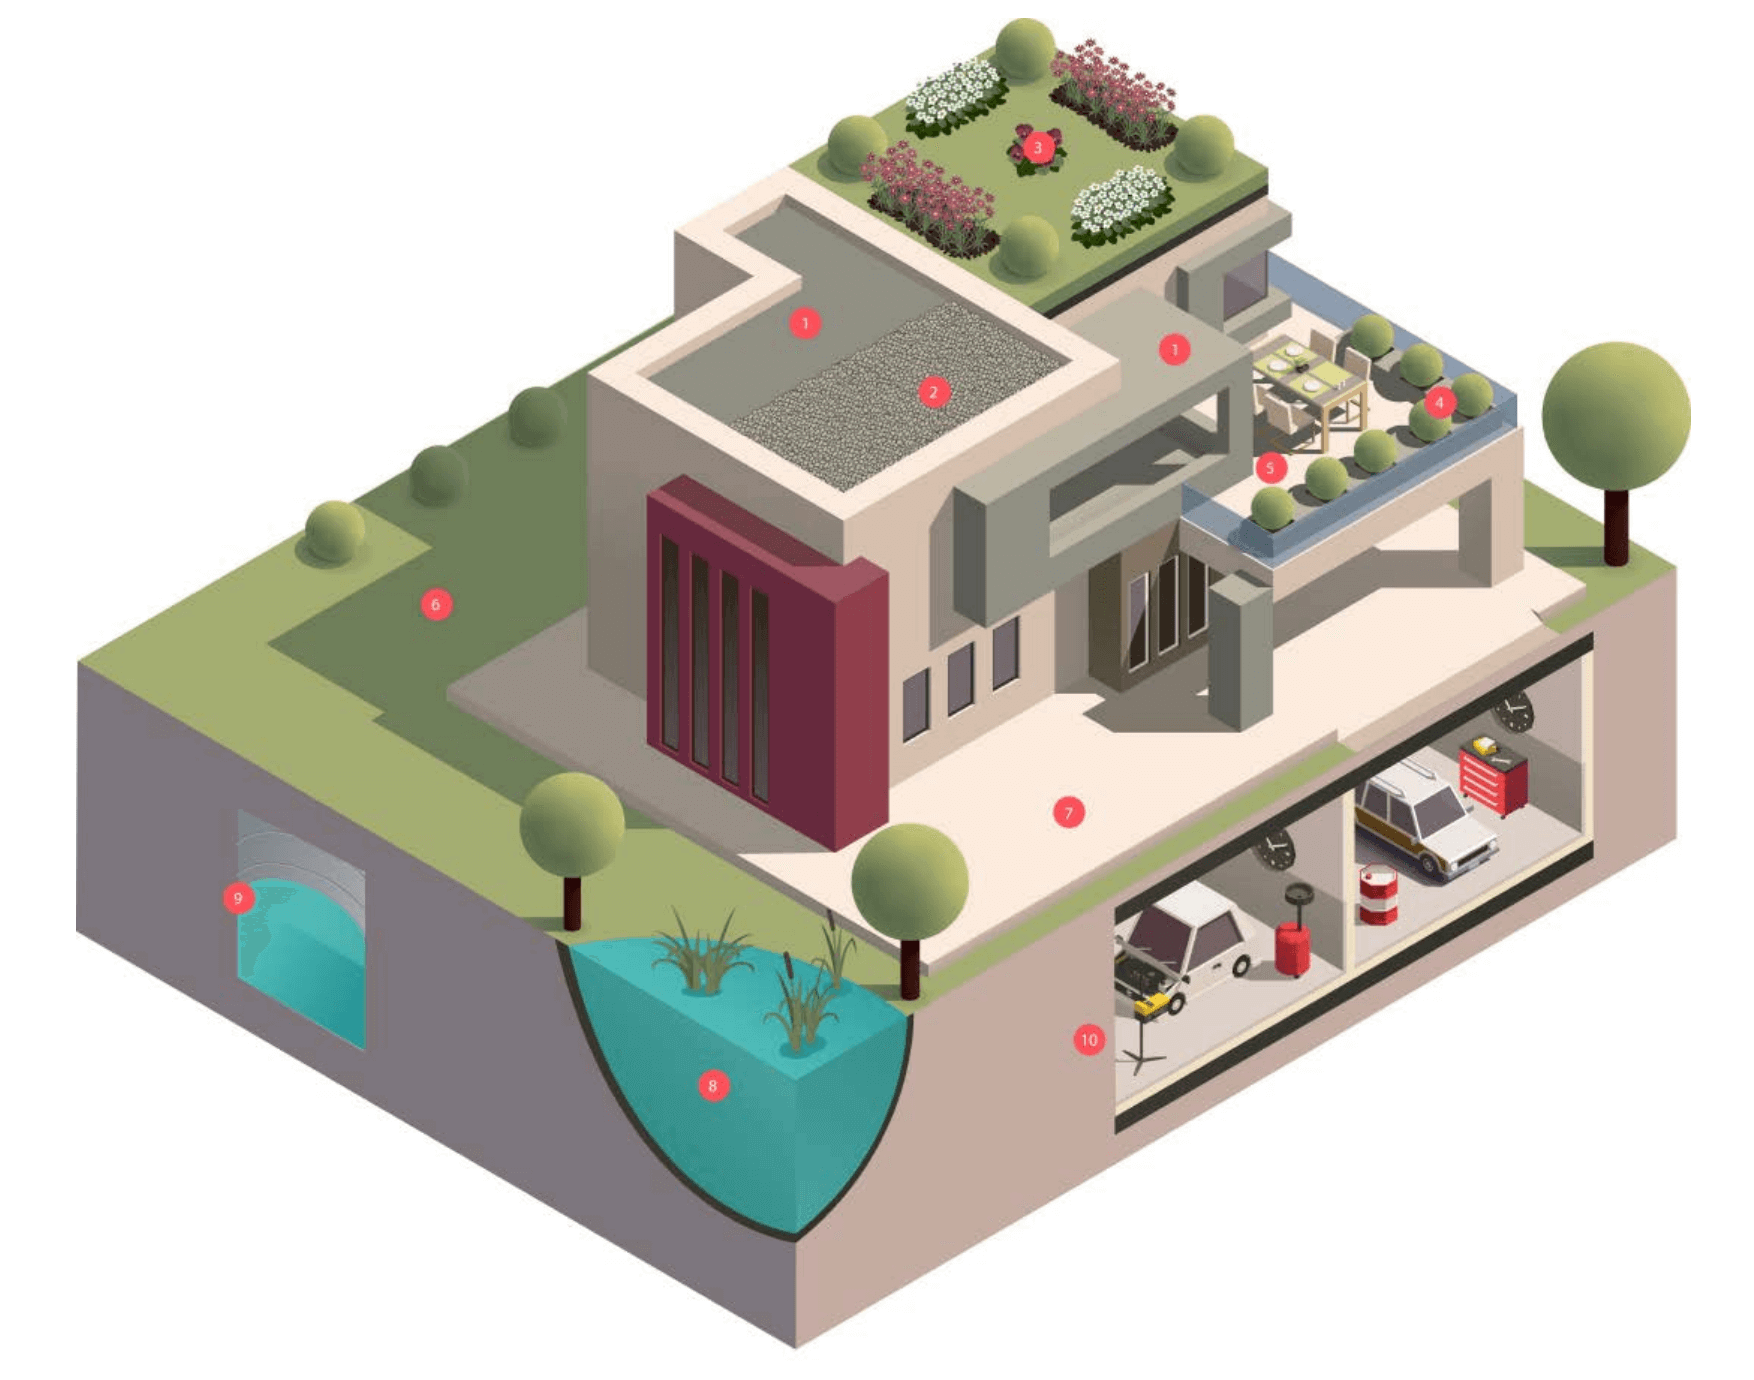
Cosmofin has been successfully installed in the following areas:
Installation Information
- Roof Decks (exposed, ballasted)
- Green Roofs & Landscaped Areas (FLL Certified)
- Balconies (tiled, pavers on pedestals, timber decking)
- Terraces
- Basements
- Planter boxes (FLL Certified)
- Green walls (FLL Certified)
- Retaining walls
- Gutters
- Carpark and Driveway
- Under-slab
- Lift Pits
- Expansion joints
- Podium slabs
- Fountains and water features*
- Water detention tanks*
* Not suitable for potable water. If potability is required, refer to Wolfin.
The Cosmofin membranes can be applied on the following substrates:
- Concrete
- Timber
- Steel
- Masonry
- Blockwork
- CFC
- Old Bitumen Roofs
- Insulation Products
Cosmofin FGLL loose laid membrane can also be installed over a damp substrate.
Where Can Cosmofin Membranes Be Installed?
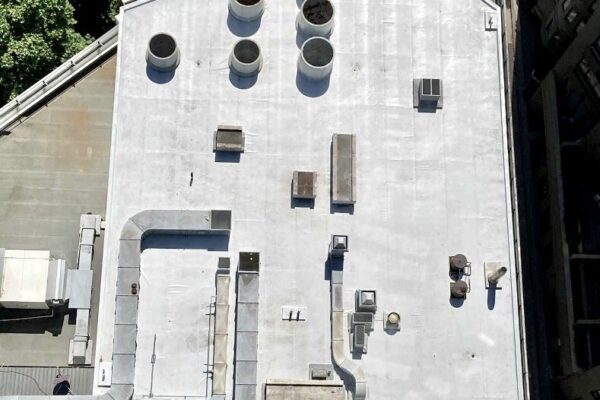
Flat Roof – Exposed, bonded installation
Flat Roof – Under insullation and/or Ballast
Flat Roof – Exposed, bonded installation
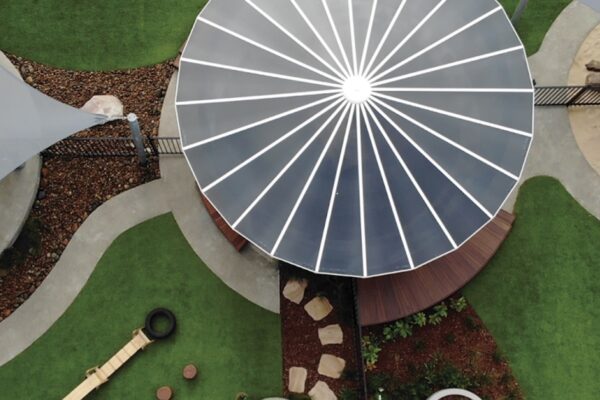
Green Roof
Planter Boxes
Balconies & Terraces – Under Tiles & Pavers
Landscaped Areas
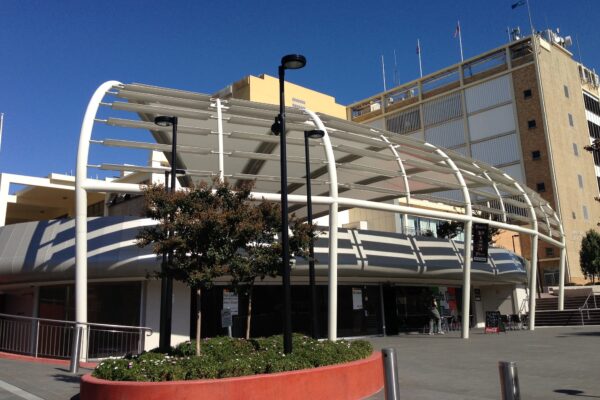
Podium Slab – Under Tiles or Pavers
Water Retaining Structure – Water Features
Water Retaining Structure – Water Features
Below Ground – Basements, Retaining Walls, Lift Pits & Cellar


Types of Cosmofin Applications
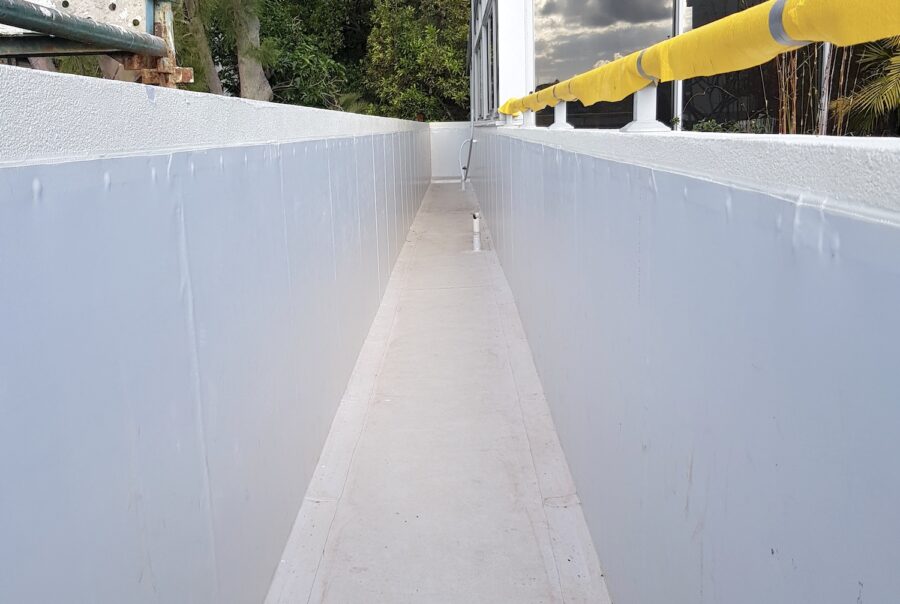
Cosmofin Loose-Laid Application
Cosmofin Membrane FGLL can be used for loose-laid applications. This type of application does not require any adhesive and is typically used in areas such as:
- Lift-Pits
- Retaining Walls
- Planter Boxes
- Tanks
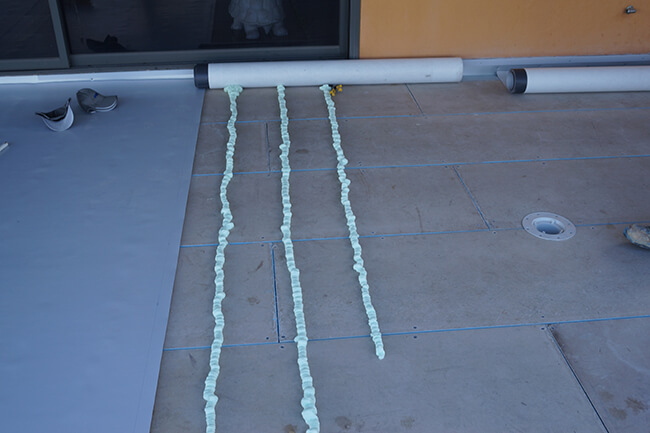
Cosmofin Strip-Bonded Application
The strip-bonded application is suitable for Cosmofin LLV membrane, specially developed to increase speed of installation. TK 400 is applied in approximately 30mm strip/beads to the substrate. This type of application can be used in areas such as:
- Rooftops (green roof or exposed)
- Balconies and Terraces
- Podium Slabs
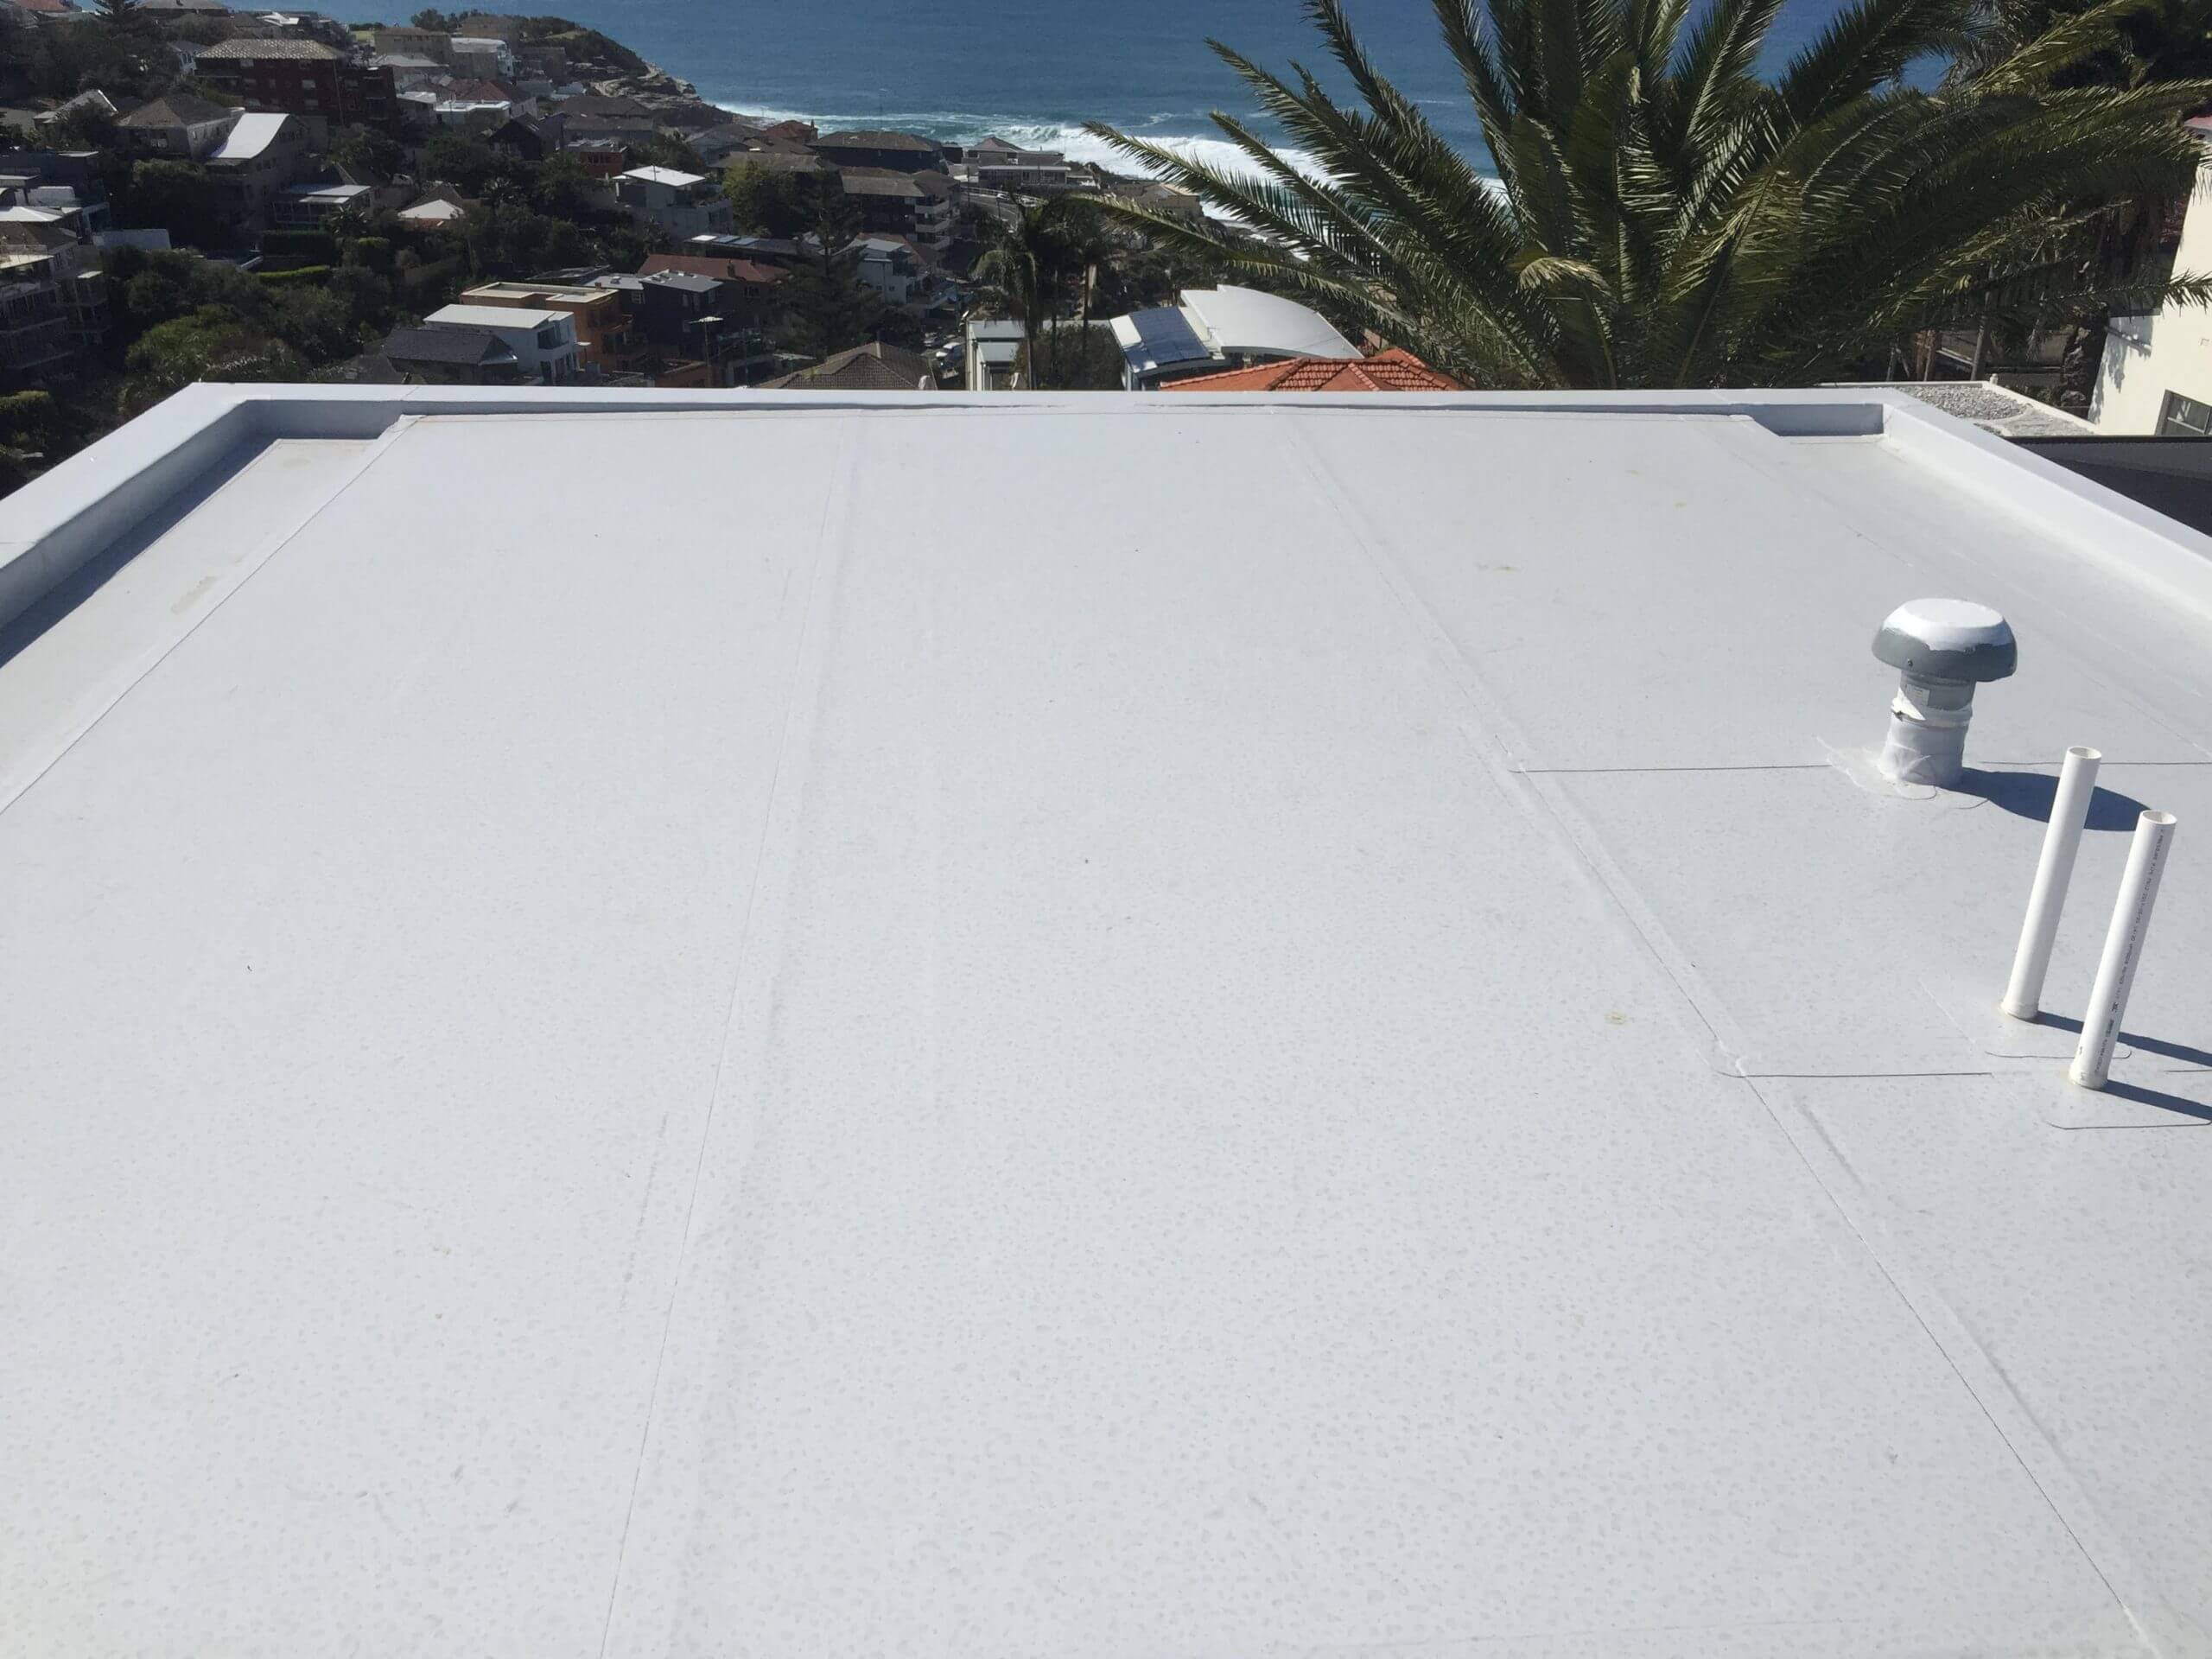
Cosmofin Fully-Bonded Application
Fully-bonded application is achieved using traditional glues and adhesives. Conctact Projex Group for recommended adhesives for the areas mentioned below:
- Rooftops (green roof or exposed)
- Balconies and Terraces
- Podium Slabs
How to Install Cosmofin?
Step 1: Substrate Preparation
- All substrates to which the Cosmofin membrane is to be applied must be sound, smooth, clean, dry and free from the residues of any foreign material.
- Oil or bitumen residues must be removed (Except LLV).
- Check the existing bond and/ or compatibility before deciding to leave existing membranes in position.
- While laying the membrane, keep the substrate swept clean and prevent stones or debris from lodging under the membrane.
Step 2: Membrane Laying
- Set out the rolls so that they are used most economically, and the welds are minimised.
Step 3: Lap Welding
- Side laps: Overlap each roll a minimum of 50 mm and weld the full width.
- End laps: All as side laps.
- Multi lap junctions (capillaries): Where these occur they are to be welded tight. Sealants should not be used.
Step 4: Profile Fixing
- COSMOFINSTEEL profiles are supplied in 2 metres lengths. Space them 5mm apart and join with 50mm wide welded patches for the full girth of the profile. Fix all profiles 150-200mm centres.
Step 5: Edge Cutting
- All sheet or patch edges where the selvedge is cut away, should be dressed with Cosmofin Liquid so that they are “closed” against ponding water.
Chat to an expert
If you require any assistance, please contact Projex Group. We offer a full & comprehensive back up service for all Cosmofin installations.
Enquire now
Make an Enquiry
To contact a Projex representative, please enter your details below.
We will respond to your enquiry in the next 24 hours.